Honda HR-V: Pulley End Crankshaft Oil Seal Replacement - In Car
Honda HR-V (2015-2021) Service Manual / Engine / Engine Control System & Engine Mechanical - Service Information / Pulley End Crankshaft Oil Seal Replacement - In Car
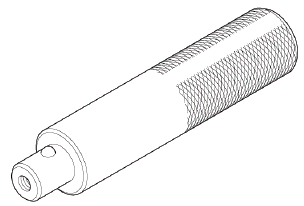
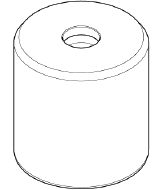
Special Tools Required
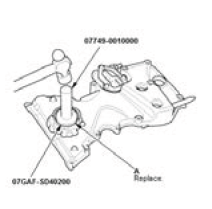
Driver Handle, 15 x 135L 07749-0010000
Hub Dis/Assembly Tool, 42 mm 07GAF-SD40200
Replacement
1. Oil Pump - Remove
2. Pulley End Crankshaft Oil Seal - Remove
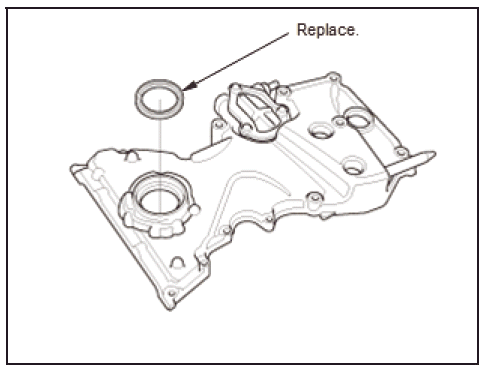
3. Pulley End Crankshaft Oil Seal - Install
- Clean and dry the pulley end crankshaft oil seal housing
- Apply a light coat of new engine oil to the lip of a new pulley end crankshaft oil seal
- Use the driver handle, 15 x 135L and the hub dis/assembly tool, 42 mm to drive a new pulley end crankshaft oil seal (A) squarely into the oil pump to the specified installed height.

- Measure the distance between the oil pump surface (A) and the pulley end crankshaft oil seal (B).
52.1-52.7 mm (2.051-2.075 in)
4. All Removed Parts - Install
- Install the parts in the reverse order of removal.
READ NEXT:
 Rocker Arm Assembly Removal and Installation
Removal
1. Cylinder Head Cover - Remove
2. Rocker Arm Assembly - Remove
Loosen the locknuts and the adjusting screws (A).
Fig. 32: Lost Motion Holder Bolt Removal Sequence
Remove the lost motio
Throttle Body Removal and Installation
Removal
Do not insert your fingers into the installed throttle body when you turn the
vehicle to the ON mode, or while
the vehicle is in ON mode. If you do, you will seriously injure your fingers if
Transmission End Crankshaft Oil Seal Replacement - In Car
Special Tools Required
Driver Handle, 15
x 135L
07749-0010000
Oil Seal Driver
Attachment, 96
mm 07ZADPNAA100
Replacement
1. Transmission - Remove
Remove the transmission:
M/T
CVT
2. Press
SEE MORE:
Exhaust System - Service Information
REMOVAL & INSTALLATION
EXHAUST PIPE AND MUFFLER REMOVAL AND INSTALLATION (KA/KC)
Removal and Installation
NOTE: Use new gaskets and new self-locking nuts when reassembling.
1. Exhaust Pipe and Muffler - Remove and Install
2WD
Fig. 1: Exploded View Of Exhaust Pipe and Muffler With Torque Specifi
VSA System Description - ABS Control
When wheel speed is significantly reduced from estimated vehicle speed, the
VSA modulator-control unit
closes the inlet valve and opens the outlet valve momentarily to reduce brake
fluid pressure and the pump motor
starts to run. As wheel speed increases, the VSA modulator-control unit
maintains
© 2019-2026 Copyright www.hohrv2.com
